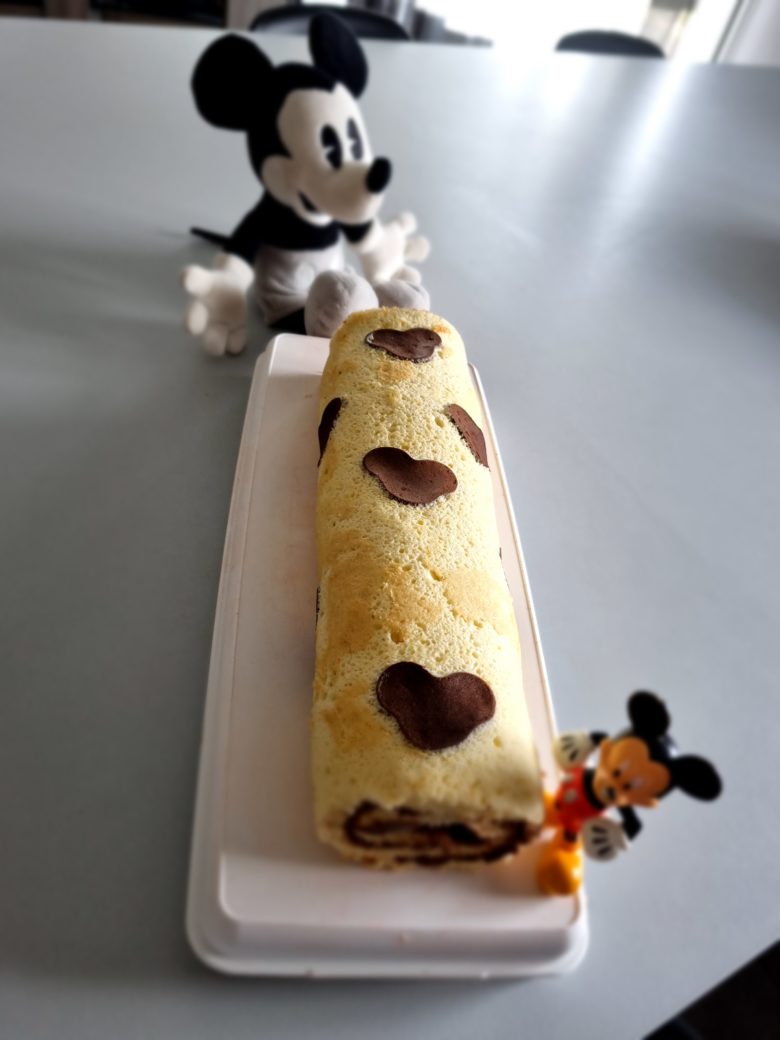
The Mickey Mouse roll is an easy to make cake, very regressive and comforting. It has all the assets to seduce young and old alike! Here’s a little tutorial to help you customise it, by honouring our favourite mouse.
Ingredients for the Mickey Mouse roll
- 4 whole eggs + 2 whites
- 125 g sugar
- 125 g flour
- 2 tablespoons unsweetened cocoa powder
- spread to fill your roll
Realisation
Preheat your oven to 180° C.
Start by separating the egg whites from the yolks. Keep 4 yolks separate and put the 6 whites in the mixer.
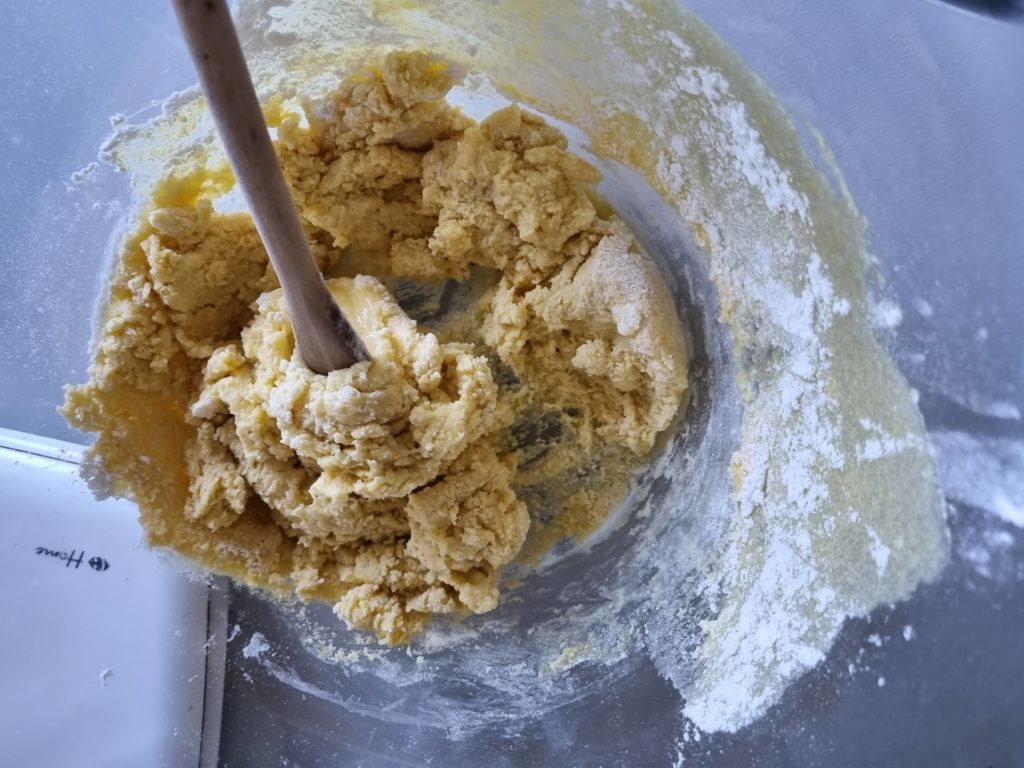
Add the sugar to the egg yolks and mix well. Pour the flour into this mixture and mix again, as much as possible because the dough will be quite compact. Don’t panic: this is normal!
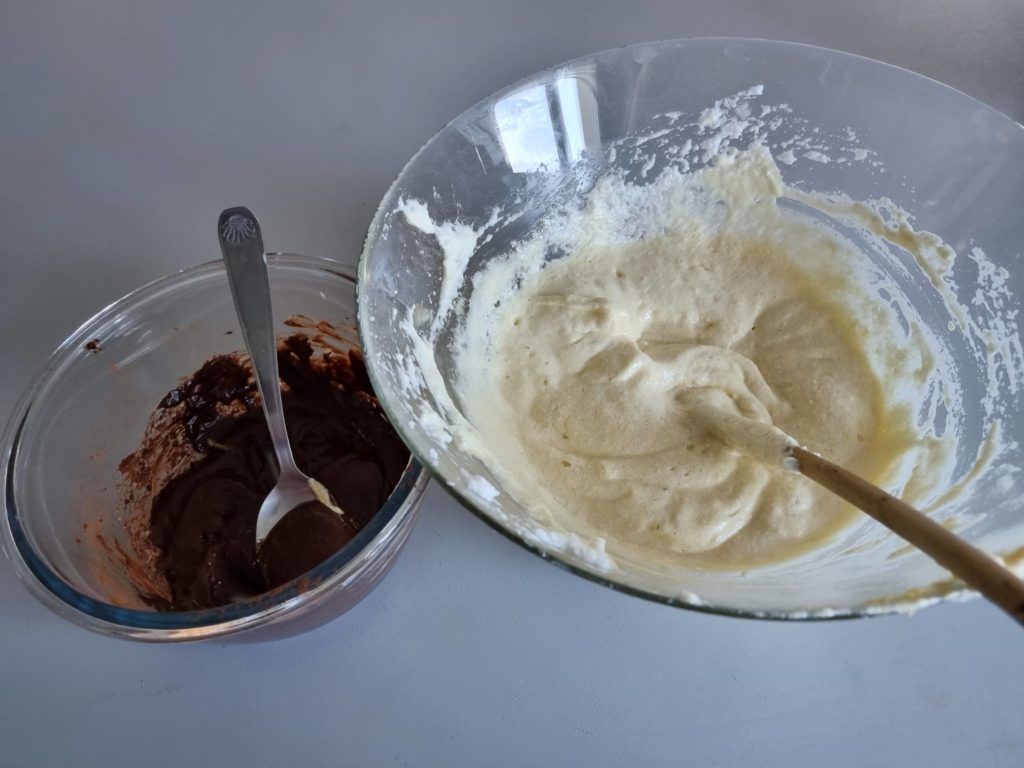
Beat the egg whites until they are stiff. Take a small portion and mix it vigorously with the flour mixture to loosen it. The rest of the egg whites should be folded in very gently so that the mixture is light.
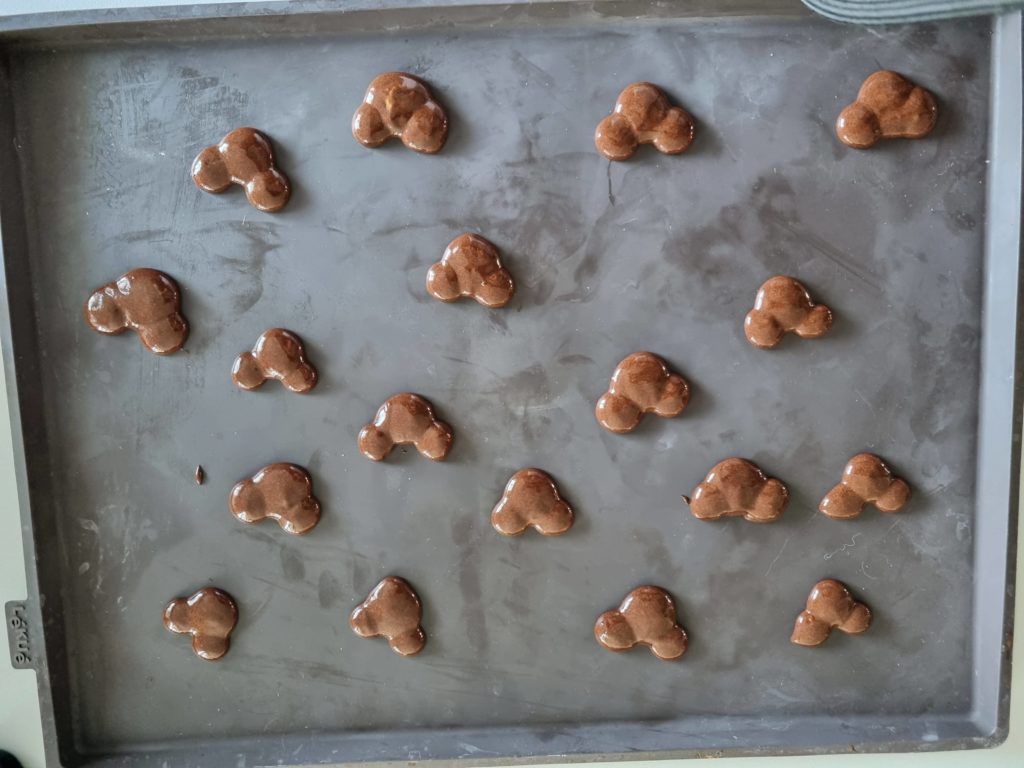
Take a small portion of the dough and put it in a separate bowl. Add the cocoa to this small portion and place it in a freezer bag with the tip cut off (be careful not to go too fast).
Poke the cocoa dough, starting with a circle to represent Mickey’s head, then make two smaller ones for the two ears by sticking them to the head. When you have used up all the dough, put the tray in the oven for two or three minutes.
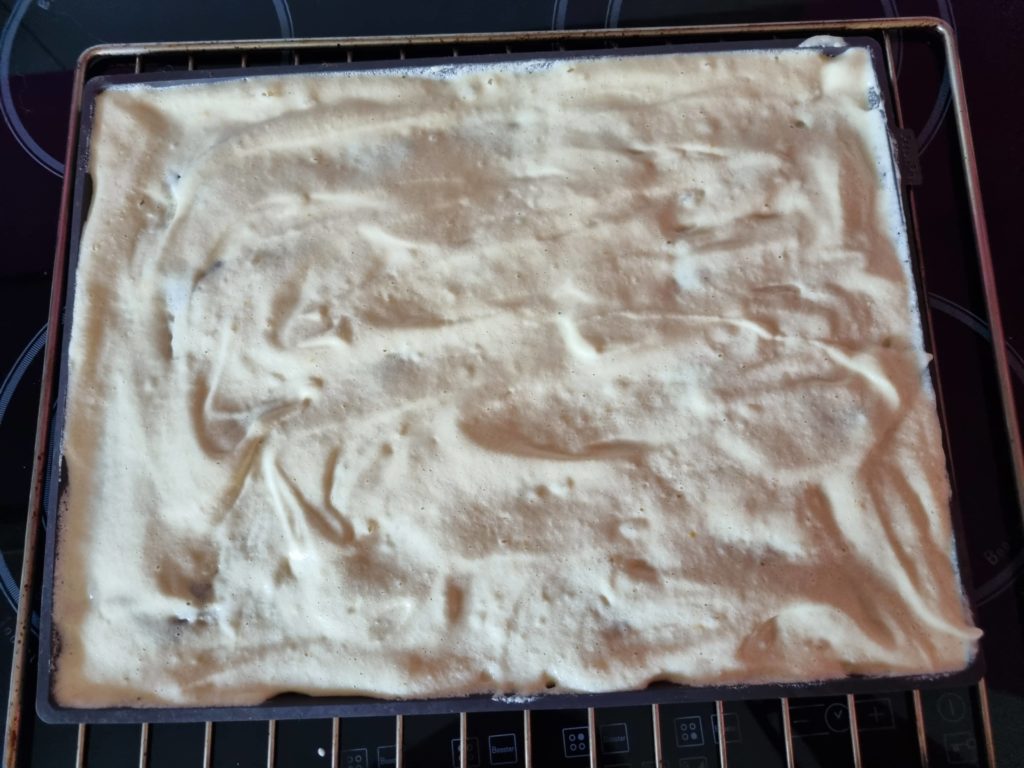
Once this time has elapsed, take out your baking tray and spread the remaining uncoloured mixture over the pre-cooked heads and bake again for ten to twelve minutes.
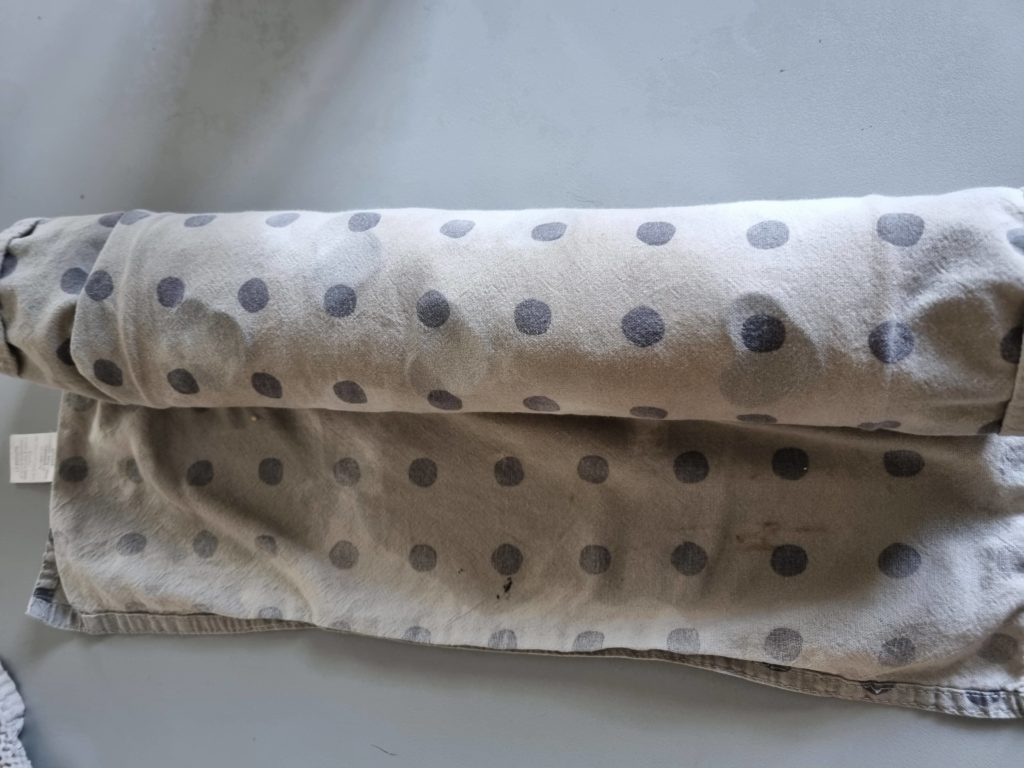
While cooking, prepare two tea towels and moisten them slightly.
Finalisation
Is your cake cooked? You can then turn your baking sheet directly onto one of the wet tea towels and gently peel off the biscuit. Once this is done, turn it over again onto the other tea towel and gently roll it into a roll shape.
Finally, when the biscuit has taken its shape, roll it out and spread the filling. I chose a famous brand of spread but you are free to put whatever you like in it: jam, whipped cream and fresh fruit… The base remains the same and the variations are endless!

To make your cake look better, you can “trim” the ends, i.e. cut off the ends so that you have a clean finish at each end (which also allows you to taste before everyone else!).
Enjoy your meal!