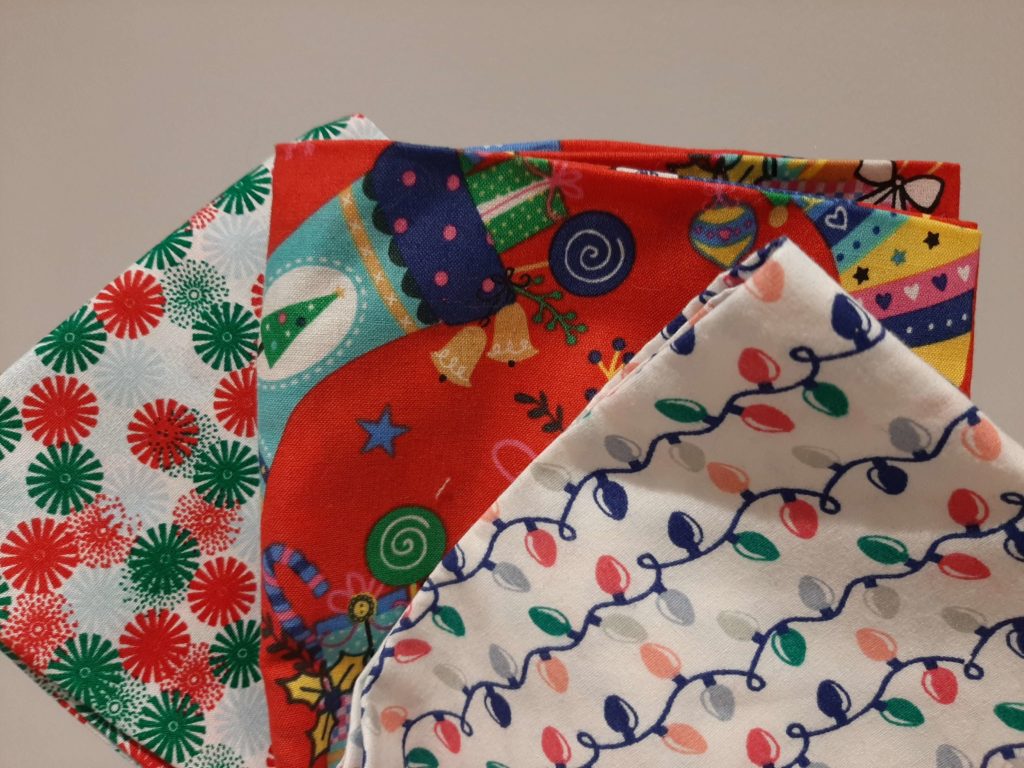
Make a quick dazzling Christmas decoration! All you need is a little bit of brightly coloured fabric, ribbon and a scrap of toy filling or quilt wadding – plus some cardboard and a few circles to draw around.
Christmas lights and stocking designs are perfect, but you can easily update this decoration to whatever supplies you have available. Just be sure to add a little bit of sparkle!
Materials:
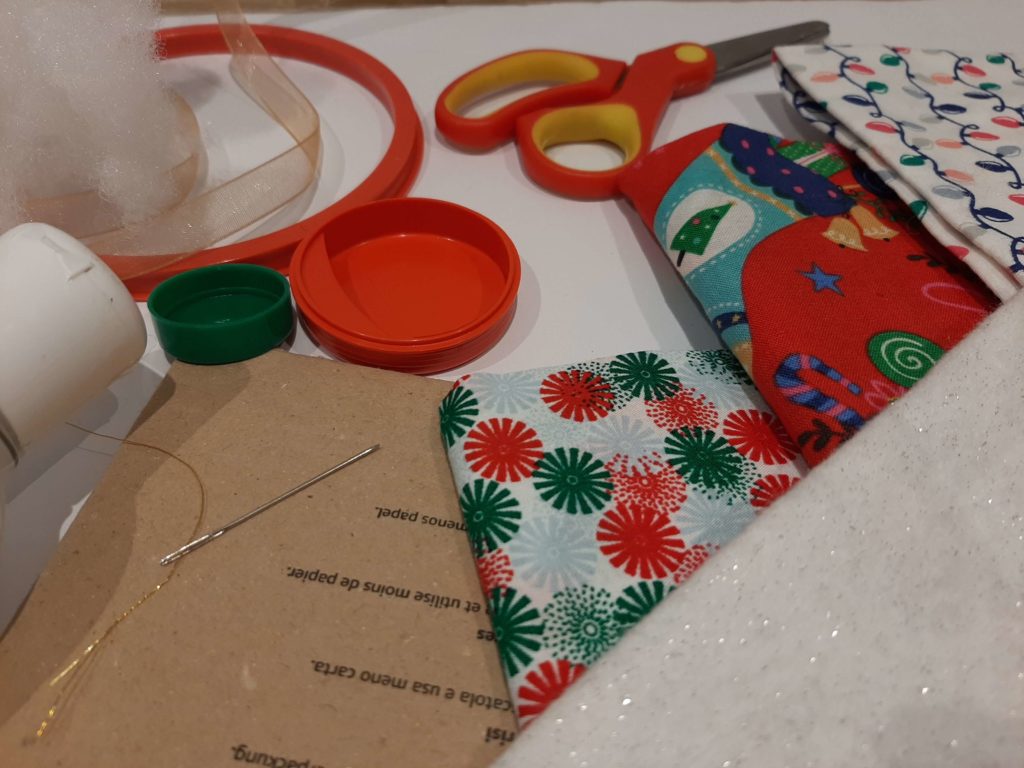
Brightly coloured fabric
White felt
Green felt, or another colour to match your fabric
Ribbon
Toy filling or quilt wadding
One sheet of cardboard
Pencil
Scissors
PVA glue
Needle
Thread to match your fabrics
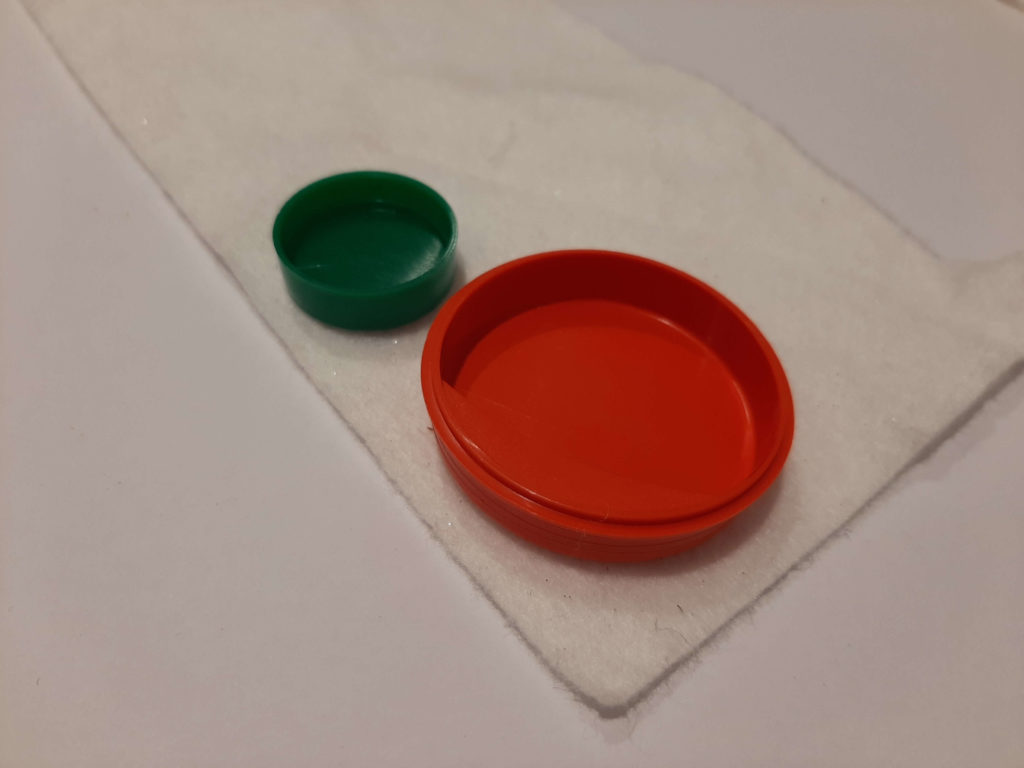
Larger circle template (around 8-10 cm diameter)
Medium circle template (around 4-5 cm diameter)
Smaller circle template (around 2 cm diameter)
Customisation: add any extras you want, or swap the circles for a Christmas cookie cutter
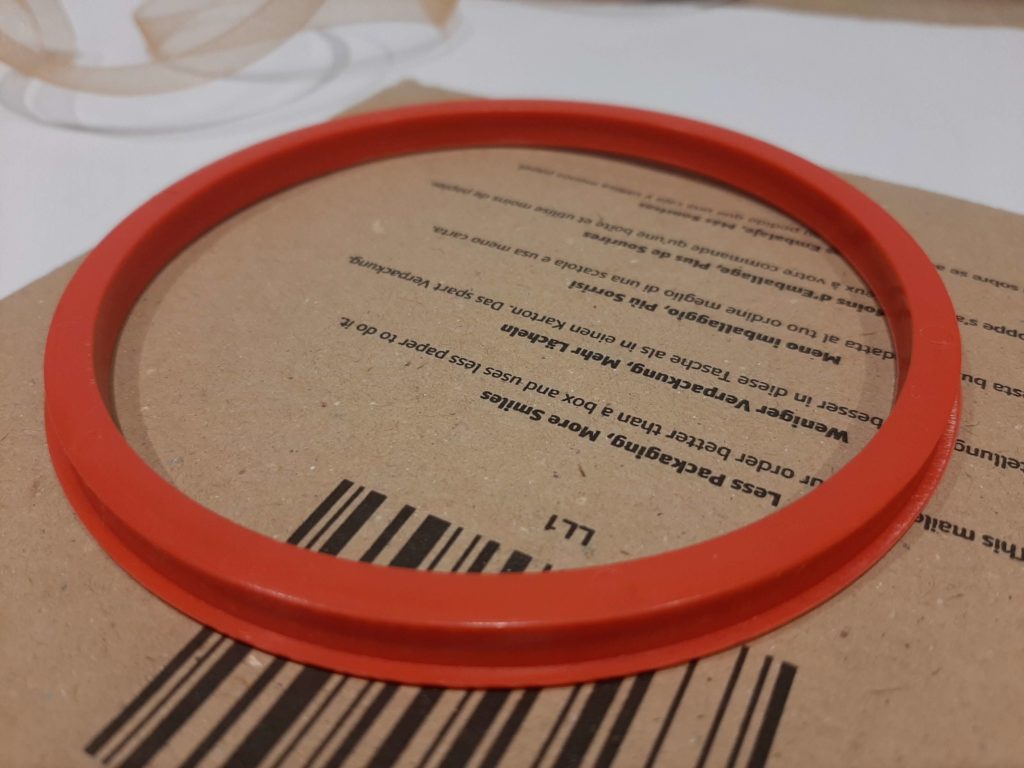
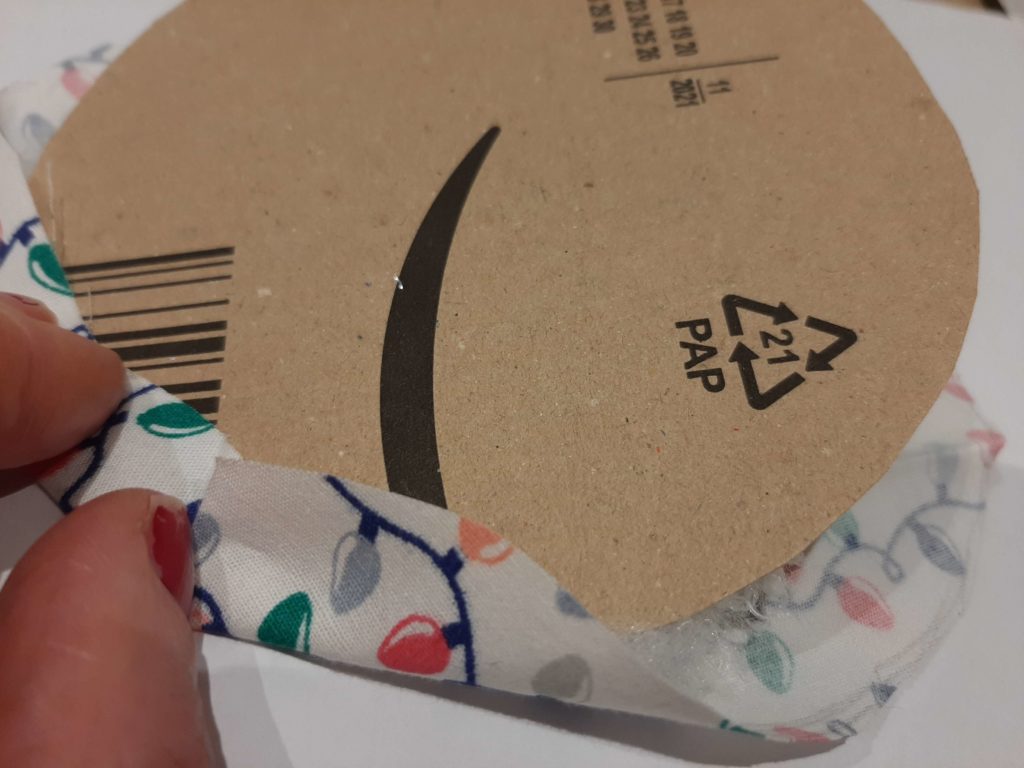
Cut a Cardboard Base and Felt Backing
Cut out a cardboard base, using the large circle as a template. Trace around the larger circle again, this time on the felt you will use for the backing. This example uses green, but you can pick out any colour that works with your fabric. Set them to one side.
Choose Patterned Fabric
Choose a brightly coloured fabric. Using the large template, mark out a circle on the back – don’t cut it out yet.
Draw another circle around 1.5 cm bigger all the way around. Cut around the larger outline (you’ll use the inside one to align your fabric later on).
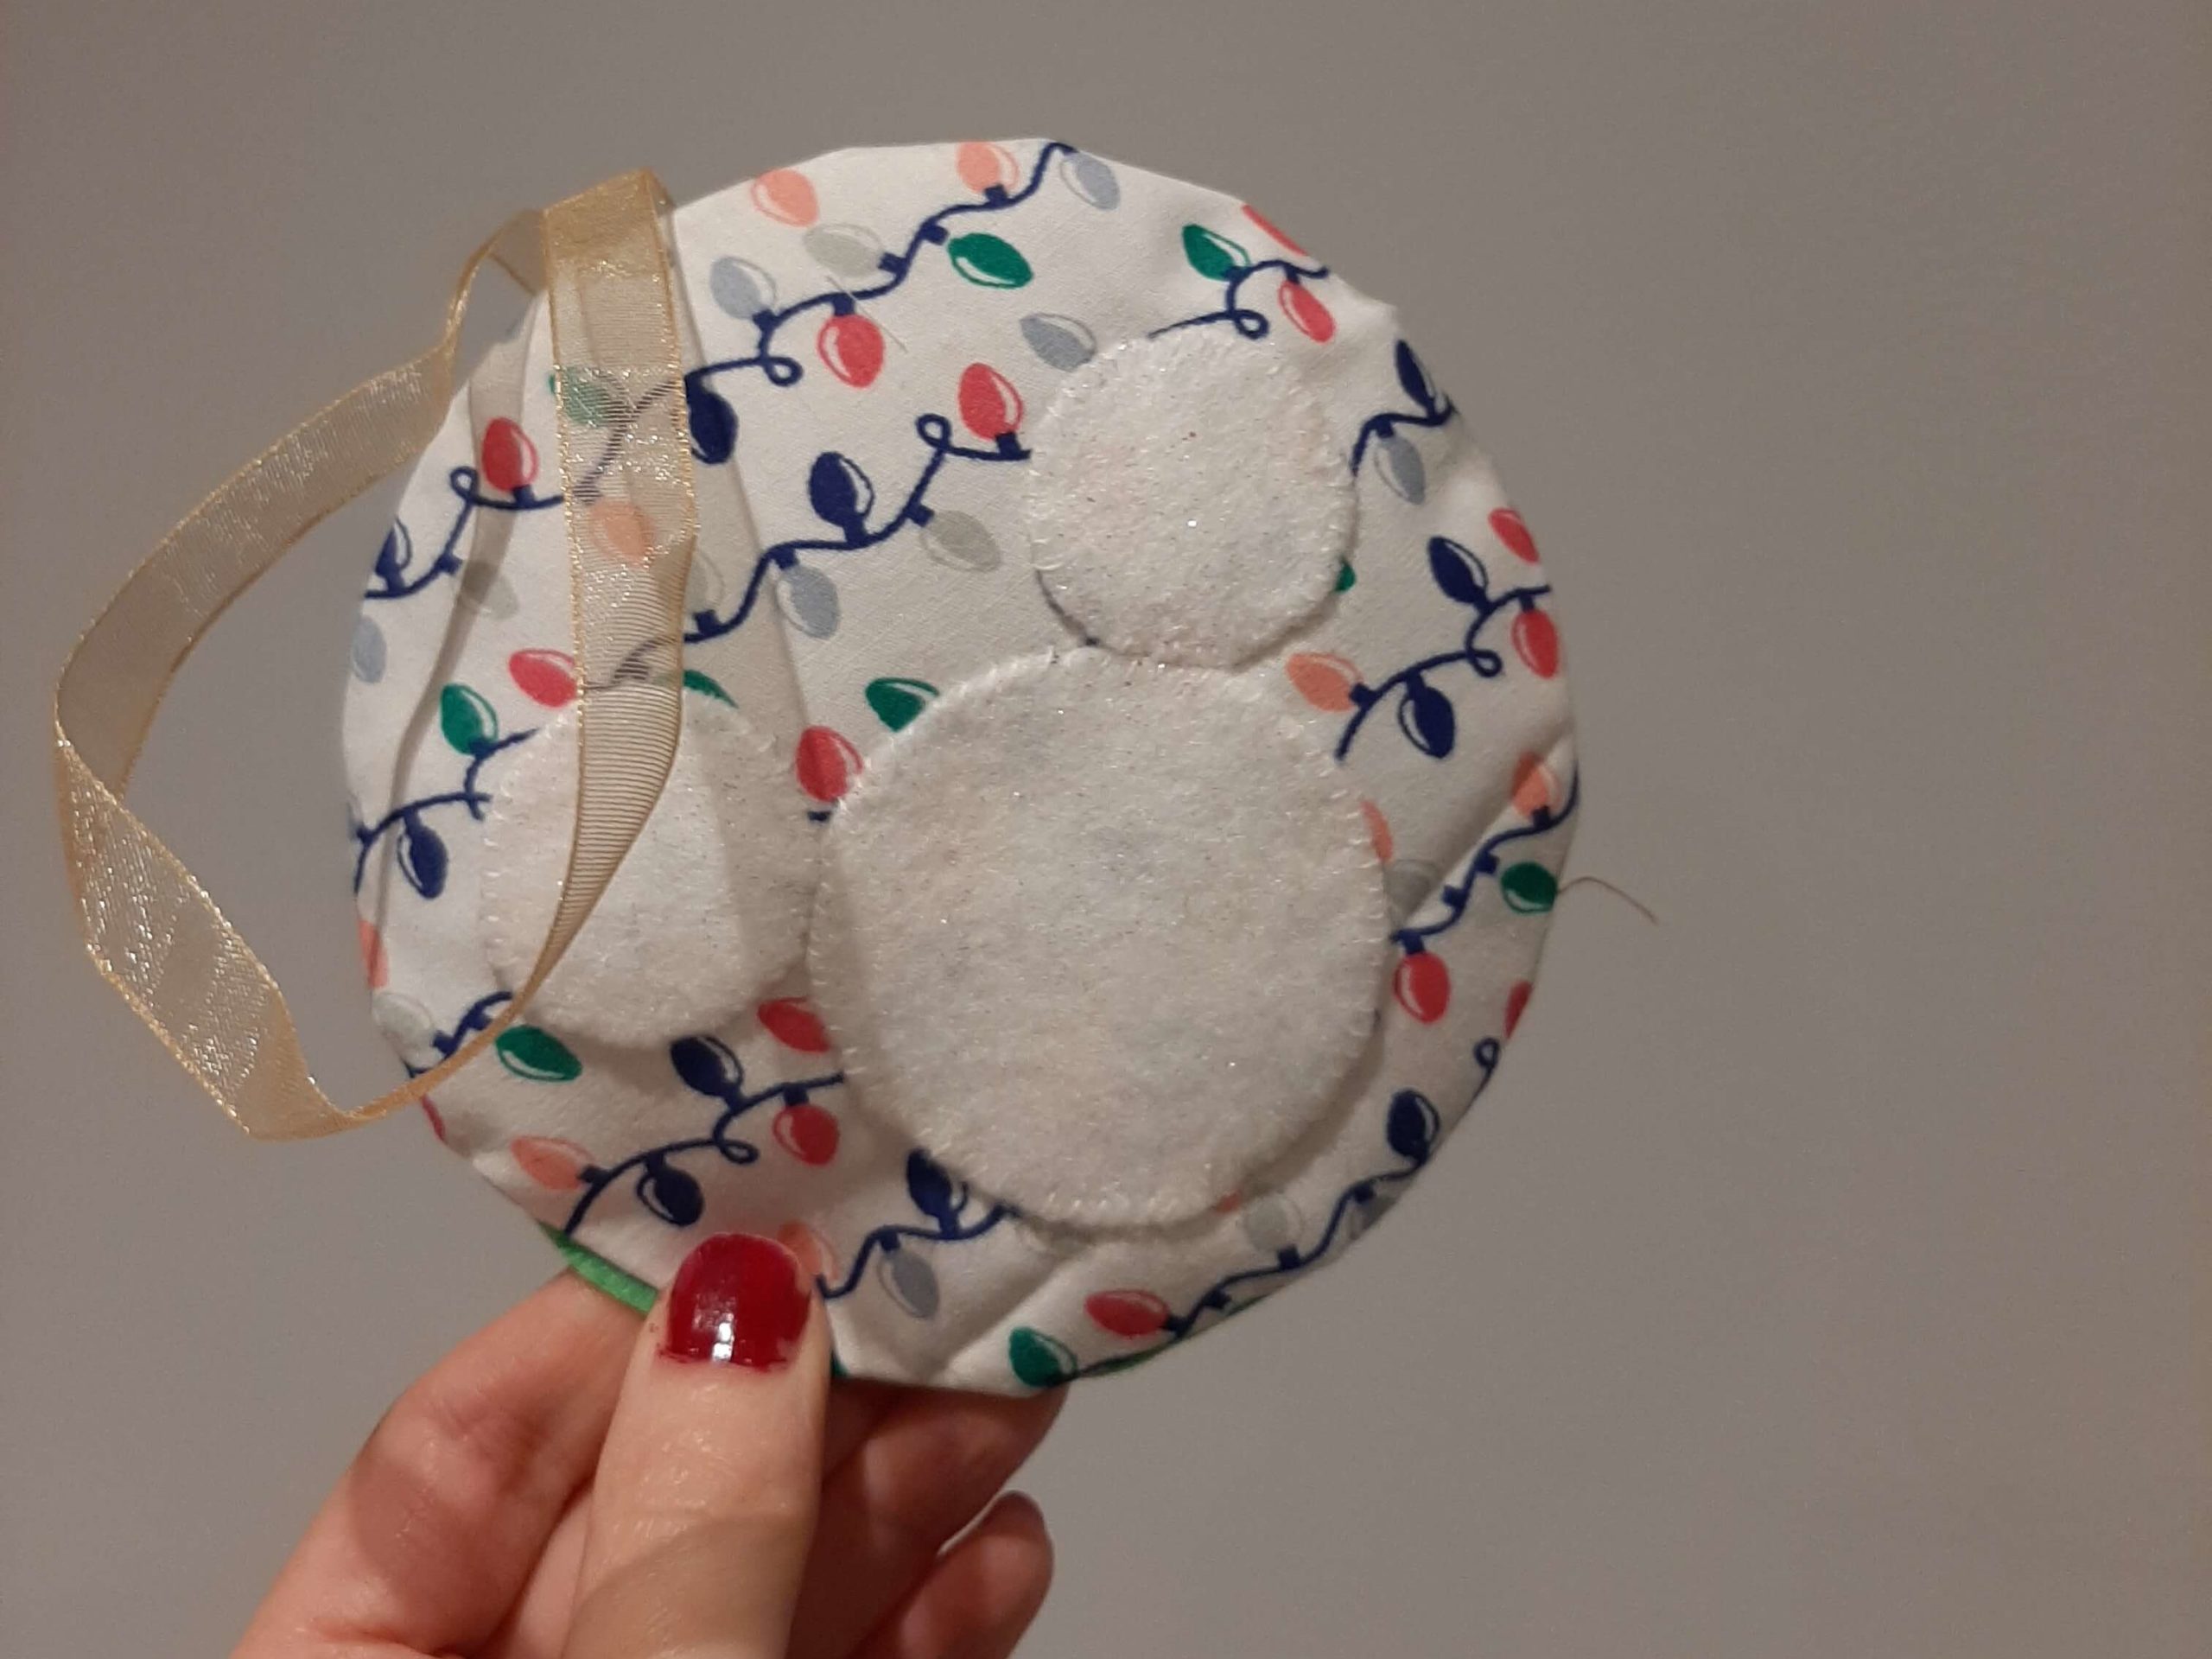
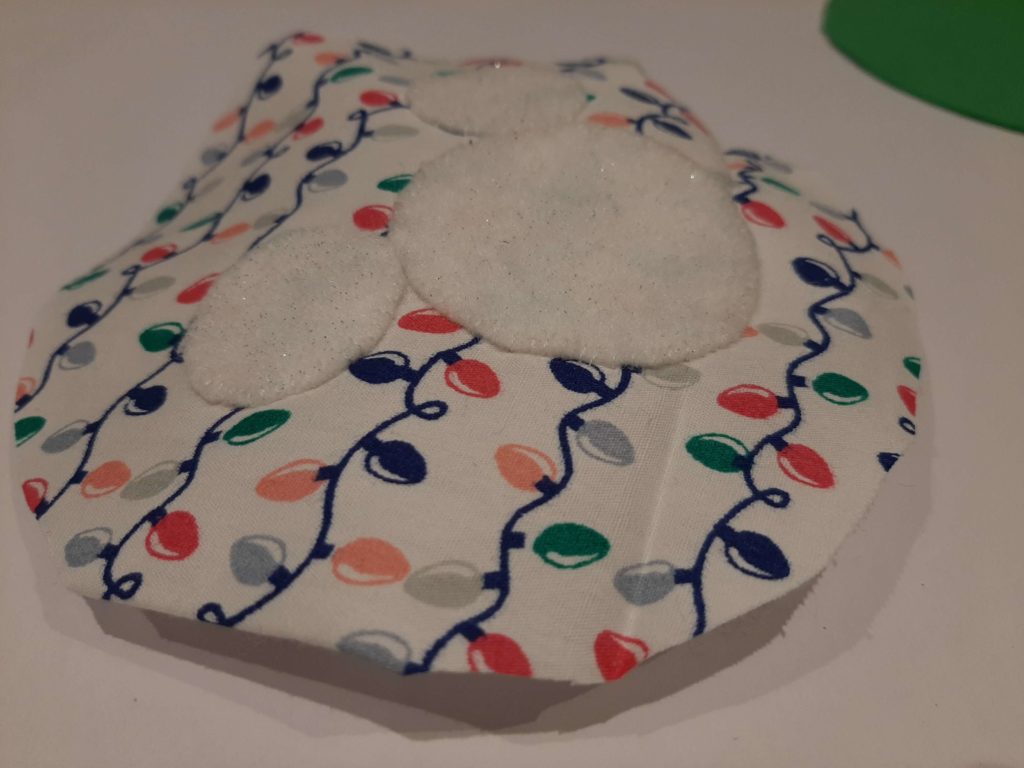
Make It Cute!
Take the white felt, or your preferred colour for the motif. Trace around your templates to create one medium circle and two smaller circles. If you’re using a cookie cutter instead, draw around it now. Cut out.
Arrange the circles to create a cute ear design, and sew in place. You can use glue if you prefer, but sewing will give a more secure finish.
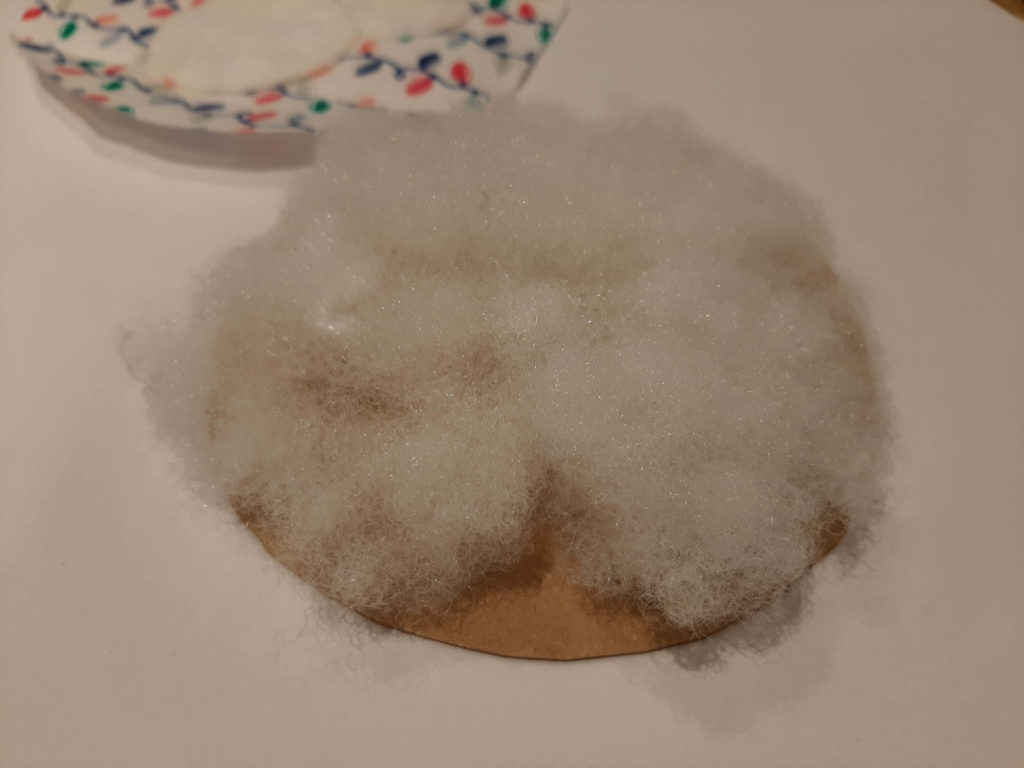
Add Filling
Draw around your larger circle template to cut wadding to size and set on top of cardboard base. Alternatively, use a small handful of toy filling – you don’t need a lot, just enough to lightly cover the disc.
Stack Layers Together
Set your patterned fabric on top of the wadding layer. Holding the layers together, flip the stack so that the cardboard disc is now on top and check that it’s sitting in the centre of the corresponding circle on the patterned fabric.
Layer Up
Spread a layer of glue around the edge of the cardboard. Pressing down evenly, carefully fold the edges of the patterned fabric up and over the cardboard disc.
Check the alignment of your design and add a loop of ribbon to the back. Glue in place, and add the felt backing. Once the glue has dried, you can sew around the edges for a neater finish.
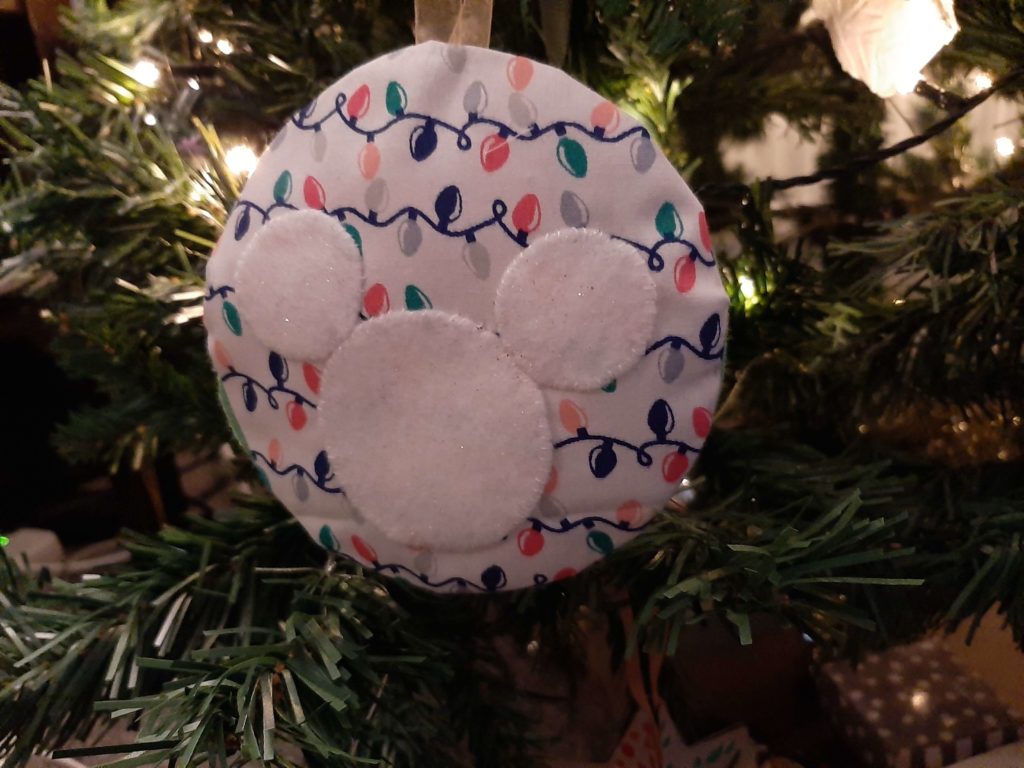
Your DIY Decoration Is Ready!
Your decoration is ready to sparkle…